Hello, I’m Dr. Shin Dong-woo, the leading surgeon at Planet Plastic Surgery Clinic.
A conversation in my consultation room recently stayed with me long after the patient left. She had quietly struggled with advanced facial sagging for years, yet she waited a long time before booking a consultation. The reason?
“Doctor, I am far more terrified of having visible scars around my ears than I am of aging itself.”
She is far from alone. In almost every consultation, I find that patients worry more about the marks left behind than the youthfulness they hope to gain.
I understand this fear deeply. Any surgical procedure that involves repositioning dropped tissue requires an incision—there is no magic way around that. However, leaving a surgical scar and that scar being visible to the world are two completely different things.
Today, I want to walk you through the realistic facelift scar healing timeline and the advanced surgical techniques used to make these marks virtually invisible.
The Facelift Scar Recovery Timeline: What to Expect
Facelift scars undergo a dynamic regeneration process. Understanding this timeline is the best way to ease anxiety during your recovery journey.
[Week 1: Incision Phase] ──> [Month 1: Regeneration Phase] ──> [Month 3+: Maturation Phase]
(Red & Reactive)               (Pink & Firm Tissue)             (Fades Into Natural Shadows)
Phase 1: Immediately After Surgery to Week 1 (The Incision Phase)
This is the most reactive phase. The incision line will look red, slightly raised, and swollen. This is completely normal but understandably triggers anxiety.
- Care Priority: The critical window to prevent infection. Keeping the area clean and applying prescribed antibiotic ointments creates a protective sterile barrier.
- Surgeon’s Tip: Avoid tilting your head down heavily (e.g., looking at a smartphone for hours) or lifting heavy objects, as sudden pressure can apply unnecessary tension to the fresh stitches.
Phase 2: Week 1 to Month 1 (The Regeneration Phase)
Sutures are typically removed around day 7 to 10. Once removed, the skin begins its true cellular rebuilding process. The angry redness begins to settle into a deep pink hue, and the tissue may feel firm to the touch.
- Care Priority: This is the golden window for specialized scar ointments and silicone scar sheets. Consistent daily application as directed drastically improves the structural texture of the healing skin.
Phase 3: Month 1 to Month 3 and Beyond (The Maturation Phase)
After the first month, the hyperpigmented pink tones gradually fade into your natural skin color, and the tissue softens and flattens. The incision line tucks neatly into the existing shadows of the ear anatomy.
- Care Priority: The absolute biggest threat at this stage is ultraviolet (UV) radiation, which can trigger permanent hyperpigmentation (darkening of the scar). Applying broad-spectrum sunscreen over the healing zones is a non-negotiable daily habit.
Surgical Secrets: How We Make Facelift Scars “Invisible”
The difference between a scar that completely disappears and one that remains a telltale sign of surgery comes down to two masterclass surgical factors:
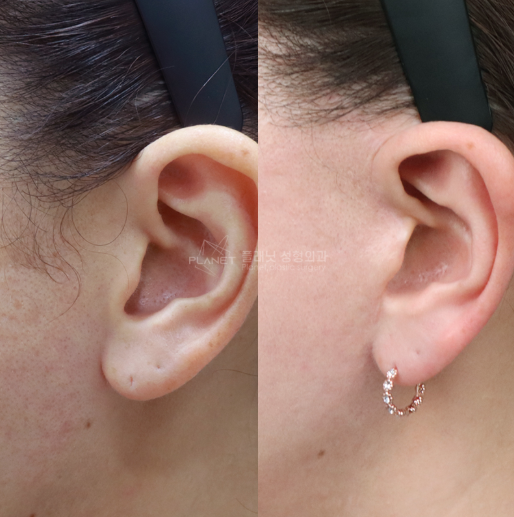
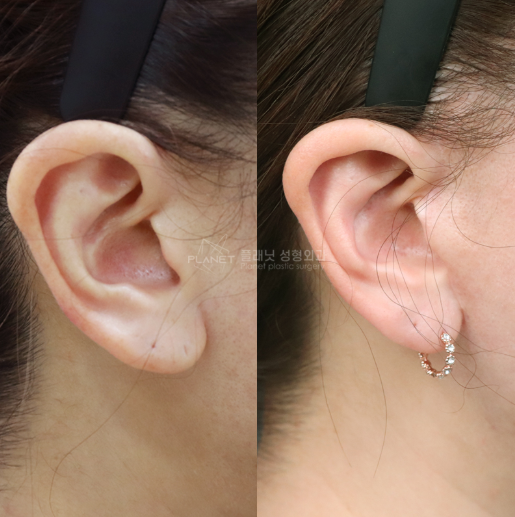
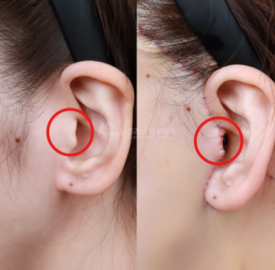
1. Meticulous Pre-Tragal Incision Placement
A premium facelift scar is hidden using the ear’s natural topography. Instead of a straight, lazy cut in front of the ear, the incision curves delicately along the tragus—the small cartilage bump just in front of your ear canal—and wraps tightly behind the earlobe into the posterior shadow. By mimicking the ear’s existing folds, the scar naturally camouflages itself from plain sight.
2. The Zero-Tension Closure Protocol
Scars widen and become thick when the surface skin is pulled too tight during closure. At Planet Clinic, we eliminate this by anchoring 100% of the structural weight to the deep SMAS layer. Because the deep muscles hold the lift, the surface skin edges meet effortlessly with zero tension, allowing the wound to heal as a clean, razor-thin line.
At-a-Glance: Facelift Scar Healing & Management Matrix
| Healing Phase | Visual Appearance of Scar | Anatomical Activity | Crucial Aftercare Step |
| Days 1–7 | Red, raised, highly visible | Acute inflammatory response | Cleanliness, antibiotic ointment, zero neck straining |
| Weeks 2–4 | Pink, slightly firm | Cellular regeneration, collagen synthesis | Silicone gel/sheets, gentle scar tissue massage |
| Months 2–6 | Fading pink to pale white | Tissue remodeling and flattening | Strict UV protection (SPF 50+), optional scar lasers |
| Months 6+ | Near-invisible faint silver line | Full scar maturation and softening | Maintenance skincare routine |
Conclusion: Customized Aftercare Solves the Equation
Every individual possesses a unique genetic healing profile. Some patients experience prolonged swelling, while others have sensitive skin where redness lingers. Because of these distinct biological responses, a generic, one-size-fits-all recovery protocol makes no clinical sense.
At Planet Plastic Surgery Clinic, we implement a highly structured, individualized follow-up regimen at day 1, week 1, month 1, and month 6. Our specialized aftercare team monitors the tissue behavior in real-time, adjusting treatments—whether utilizing swelling-reduction care, circulation therapies, or targeted laser revisions—to ensure your skin returns to its flawless state as fast as possible.
If the fear of scarring is the only obstacle holding you back from rediscovering your youthful contours, remember that advanced surgical mapping is engineered to protect your privacy.
If you have any questions regarding our incision designs or aftercare programs, please leave a comment below or reach out to us directly. We are honored to walk beside you through every step of your transformation.
Thank you for your trust.
Written by Dr. Shin Dong-woo, Leading Surgeon at Planet Plastic Surgery Clinic.